
Introduction to Banana Pudding Cheesecake
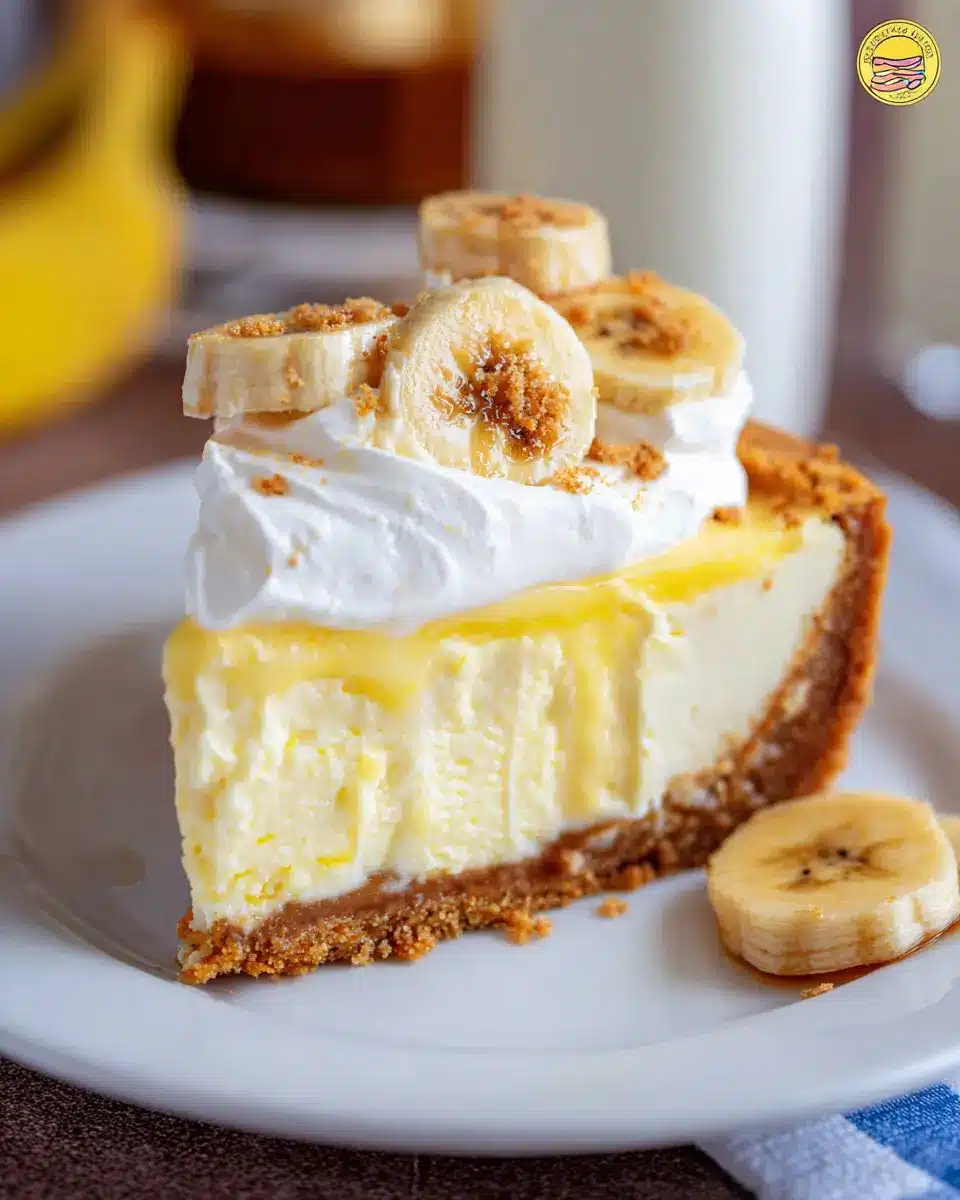
If you’re a fan of desserts that blend nostalgia with creamy decadence, the banana pudding cheesecake is about to become your new favorite treat. Imagine the classic comfort of banana pudding layered with the rich, velvety texture of cheesecake. This delightful fusion offers a unique experience that's perfect for gatherings or a cozy night in.
Why do banana pudding and cheesecake make such a perfect duo? For starters, the sweetness of ripe bananas and the subtle hint of vanilla beautifully complement the tangy cream cheese. This combination ensures each bite is both satisfying and refreshing. Additionally, the crunch of vanilla wafers adds delightful texture, creating a dessert that captures the essence of childhood while still feeling sophisticated.
The popularity of banana pudding has deep roots in American culture, often found at family gatherings and potlucks. By merging it with cheesecake, you’re not just serving a dessert; you’re offering a slice of comfort that can remind everyone of home. If that sounds irresistible, keep reading for the full bananas pudding cheesecake recipe and impress your friends and family with this delightful dessert!
For more tips and tricks on perfecting your desserts, check out Bon Appétit or Food Network.
Ingredients for Banana Pudding Cheesecake
When you set out to make a delightful banana pudding cheesecake, having the right ingredients on hand is key to achieving that creamy, dreamy texture and flavor. Let’s dive into what you’ll need for this scrumptious dessert!
Essential ingredients you'll need
To whip up this crowd-pleaser, gather the following staples:
- 2 (8-ounce) blocks of cream cheese, softened to room temperature
- ½ cup sugar for that perfect sweetness
- 2 large eggs to create a fluffy texture
- 1 (3.4-ounce) box banana cream instant pudding mix
- 15 vanilla wafers, crushed for a delightful crunch
- 1 store-bought 10-inch graham cracker crust (extra servings for sharing!)
These ingredients combine to bring that luscious banana flavor and rich cheesecake experience right to your table.
Optional toppings for a personal touch
To elevate your banana pudding cheesecake, consider adding some optional toppings that suit your taste:
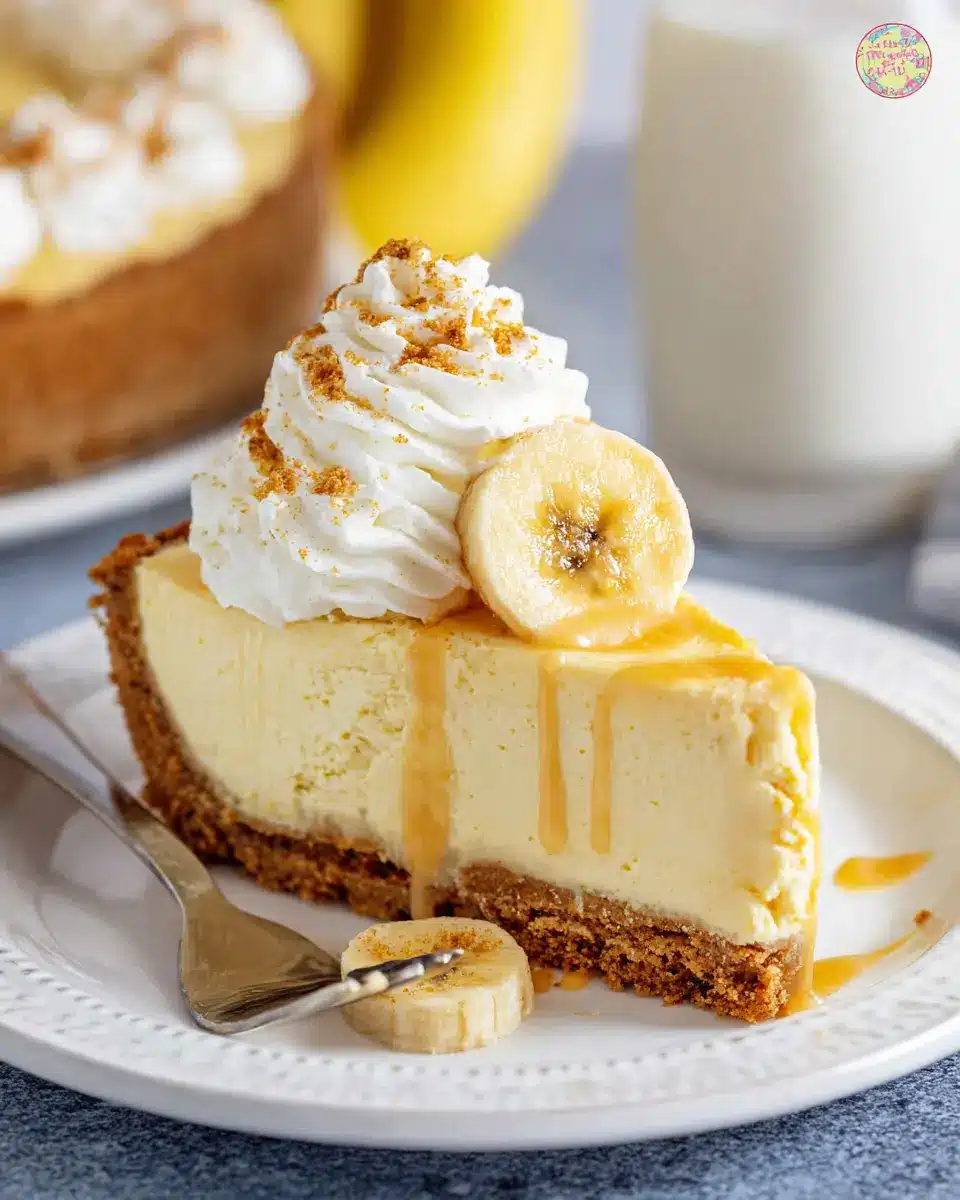
- Fresh banana slices for an inviting look
- Whipped cream for an extra creamy finish
- Additional crushed vanilla wafers for a delightful crunch
- A drizzle of chocolate syrup for a decadent twist
Feel free to experiment and make this dessert truly your own! For more tips, check out this helpful guide on flavor pairings here.
Preparing Banana Pudding Cheesecake
Making a delicious banana pudding cheesecake is a fun and rewarding experience. Rich, creamy, and bursting with flavor, this dessert is sure to impress your friends and family. Let's walk through the preparation step by step.
Gather your ingredients
Before diving into the baking process, gather all the necessary ingredients. Here’s what you’ll need:
- 2 (8 ounce) blocks of cream cheese, softened to room temperature
- ½ cup sugar
- 2 large eggs
- 3.4 ounce box of banana cream instant pudding
- 15 vanilla wafers
- 1 store-bought 10-inch graham cracker crust (make sure it's ready to go!)
Having everything at hand makes the process smoother and more enjoyable. By the way, did you know that using cream cheese at room temperature allows it to incorporate more easily, creating a smoother batter?
Cream the cheese and sugar
Start by preheating your oven to 300°F. In a stand mixer or using a handheld mixer, combine the softened cream cheese and sugar. Mix them for about 2 minutes on medium speed until the mixture is smooth. This step is critical because it ensures that the banana pudding cheesecake has a rich, creamy texture. Remember to scrape down the sides of the bowl occasionally to blend all the ingredients evenly.
Incorporate the eggs and pudding mix
Next, add the eggs one at a time, mixing until just combined after each addition. Now, it’s time for the star of the show: the banana cream pudding mix. Pour this in and mix until everything is well combined. The batter will be slightly thick, which is perfect for a cheesecake. The pudding not only adds flavor but also contributes to the creaminess of the dessert!
Crush the vanilla wafers
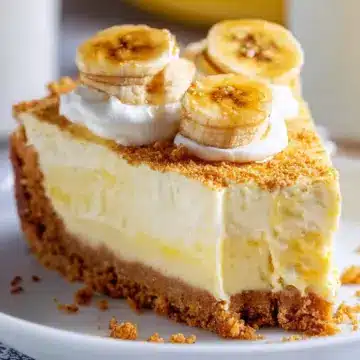
While we're waiting for the mixture to come together, let's tackle the vanilla wafers. Place your wafers into a Ziploc bag and crush them with your hands or a rolling pin. The goal here is to leave some chunks, giving the banana pudding cheesecake a delightful texture. Plus, those little bits will add a fun visual element when you slice into the cheesecake.
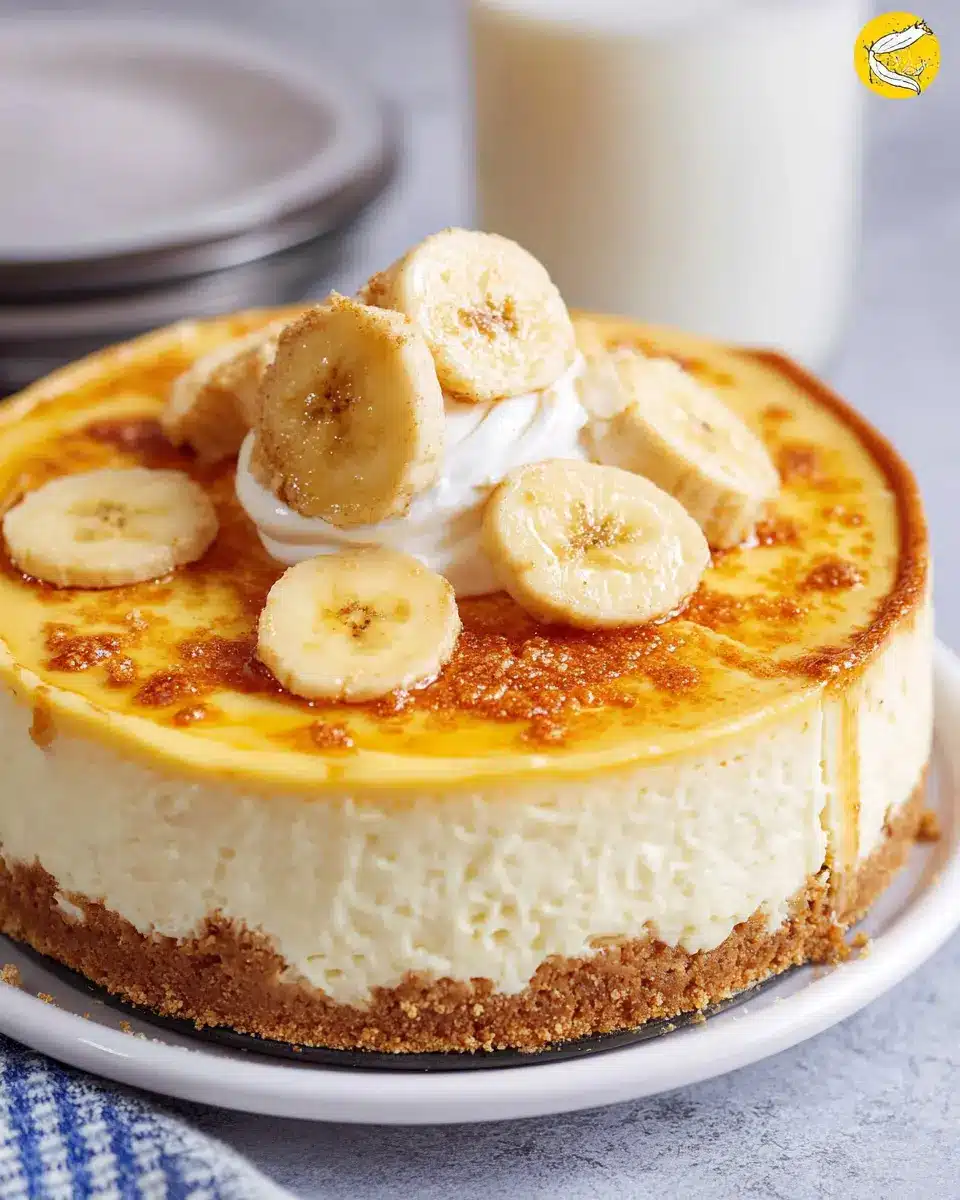
Combine and bake the cheesecake
Gently fold the crushed vanilla wafers into the cheesecake batter. Pour this luscious mixture into your graham cracker crust, making sure it's evenly distributed. Now, pop it in the preheated oven for about 55-60 minutes. The cheesecake may puff up a bit but will settle as it cools. Once baked, let it cool before placing it in the fridge to chill for several hours. This step is essential for allowing the flavors to meld together beautifully.
Enjoy the journey of making this delicious banana pudding cheesecake! The anticipation will be worth it when you finally serve it at your next gathering. Happy baking!
Variations on Banana Pudding Cheesecake
Adding a Chocolate Twist
If you’re a chocolate lover, consider adding a rich chocolate layer to your banana pudding cheesecake. Simply whisk in some melted dark chocolate into the cream cheese mixture. You can also top it with chocolate shavings or a drizzle of chocolate sauce for that extra indulgence. Imagine the delightful contrast of creamy banana and rich chocolate flavors—talk about dessert bliss!
Using Gluten-Free Graham Cracker Crust
For those following a gluten-free diet, making a banana pudding cheesecake is still an option. Replace the traditional graham cracker crust with a gluten-free graham cracker alternative or crushed almond flour mixed with butter. This way, you can savor every bite, and no one will even notice the difference! Maintaining inclusivity while enjoying a classic dessert is what it’s all about.
Explore these variations to make your cheesecake uniquely yours, and don’t hesitate to experiment with flavors! For more gluten-free dessert ideas, check out Gluten-Free Baking.
Cooking Tips for Banana Pudding Cheesecake
Ensuring the Perfect Texture
To achieve a smooth and creamy banana pudding cheesecake, start by ensuring your cream cheese is thoroughly softened. This step is crucial as cold cream cheese can lead to a lumpy filling. Mix on medium speed for about 2 minutes, scraping down the bowl frequently to combine everything evenly. Remember, a thicker batter means a denser cheesecake, so don’t skimp on the mixing time!
Cooling Techniques for Optimal Flavor
Cooling your banana pudding cheesecake properly is key to developing a rich flavor. After baking, allow it to sit at room temperature for an hour before transferring it to the fridge. This gradual cooling process helps prevent cracks and ensures the banana cream flavor melds beautifully. Let the cheesecake chill for at least four hours—overnight is even better! Enjoy your delicious creation with friends and family!
For more tips on cheesecake baking, check out the Joy of Cooking.
Serving Suggestions for Banana Pudding Cheesecake
Pairing with Fresh Fruits
Elevate your banana pudding cheesecake by serving it alongside an assortment of fresh fruits. Think ripe strawberries, blueberries, or even slices of kiwi for a pop of color and flavor contrast. The tartness from these fruits complements the creamy, sweet layers of the cheesecake, making each bite a delightful experience. For a refreshing twist, consider a drizzle of honey or a sprinkle of powdered sugar over the fruit.
Creating a Dessert Platter
Why not create a stunning dessert platter? Slice your banana pudding cheesecake into generous pieces and arrange them artistically with other treats. Include chocolate-covered strawberries, mini cupcakes, or even some crunchy granola bars. This combo not only appeals visually but also offers a variety of textures and flavors that will have your guests impressed. Don’t forget to include a few dollops of whipped cream for that finishing touch! For more dessert platter ideas, check out this guide.
Time details for Banana Pudding Cheesecake
Preparation time
Get started with just 10 minutes of preparation. This part is all about mixing, crushing the vanilla wafers, and blending those creamy ingredients together.
Baking time
The baking process takes approximately 55-60 minutes. Make sure to keep an eye on your cheesecake as it puffs up in the oven, only to settle down perfectly as it cools.
Total time
In total, you’re looking at about 1 hour and 10 minutes from start to finish. But don’t forget to allow your banana pudding cheesecake to chill in the refrigerator for several hours before serving to achieve that perfect texture!
For more tips on chilling cheesecakes to perfection, check out food safety guidelines from the USDA.
Nutritional Information for Banana Pudding Cheesecake
When indulging in a slice of this banana pudding cheesecake, it's good to know what you’re enjoying! Here's a quick look at the nutritional breakdown:
Calories
- Each serving contains approximately 616 calories, making it a rich dessert that's perfect for special occasions or a comforting treat after a long day.
Protein
- You'll find about 7 grams of protein per slice. While it’s not a protein powerhouse, it adds a little boost to your dessert experience!
Carbohydrates
- With around 68 grams of carbohydrates, this cheesecake is sweetened and satisfies those dessert cravings, thanks to the banana pudding and crushed vanilla wafers.
For additional insights on nutrition, you can explore resources like the USDA FoodData Central for more detailed food information. Enjoy your slice of happiness!
FAQs about Banana Pudding Cheesecake
Can I make this cheesecake in advance?
Absolutely! This banana pudding cheesecake is perfect for making ahead of time. In fact, making it a day prior allows the flavors to meld beautifully. Just follow the recipe and refrigerate it overnight. This way, it’s ready to serve when you are, making it an excellent choice for parties or family gatherings.
What’s the best way to store leftovers?
Storing leftovers is easy! Cover the cheesecake with plastic wrap or transfer it to an airtight container. Keep it in the refrigerator for up to 3-4 days. Each slice is a delightful reminder of your banana pudding cheesecake masterpiece. Just remember, if you want to freeze the cheesecake, it's best to do so before adding any toppings like whipped cream for optimal texture.
Can I substitute the cream cheese?
If cream cheese isn’t your thing, you can try alternatives like mascarpone or Greek yogurt for a lighter texture. Keep in mind that the flavor might change slightly, but your banana pudding cheesecake will still taste fantastic! Just ensure your substitute has a similar consistency to maintain that creamy goodness. Want to learn more about ingredient swaps? Check out this guide to baking substitutions.
Conclusion on Banana Pudding Cheesecake
If you're seeking a delightful treat that marries the flavors of banana pudding and cheesecake, look no further than this scrumptious recipe! Simple to prepare and utterly satisfying, this banana pudding cheesecake will surely impress your friends and family. Grab your plates, and enjoy a slice of heaven!
Banana Pudding Cheesecake
Equipment
- Stand Mixer
- Oven
- mixing bowl
- ziploc bag
- Rolling pin
Ingredients
- 2 blocks cream cheese softened to room temperature
- 0.5 cup sugar
- 2 large eggs
- 3.4 ounce banana cream instant pudding 1 box
- 15 pieces vanilla wafers
- 1 store-bought 10-inch graham cracker crust (2 extra servings size)
Instructions
- Preheat oven to 300F degrees.
- In the bowl of a stand mixer (or using a handheld electric mixer), combine 2 (8 ounce) blocks cream cheese and ½ cup sugar until smooth (about 2 minutes on medium speed).
- Add in 2 large eggs and mix until combined.
- Add the powdered 3.4 ounce box banana cream instant pudding to the cream cheese mixture.
- If you are using a stand mixer, it's really important that you scrape down the sides of your mixing bowl often. Mix until combined. Batter will be thick.
- Put 15 vanilla wafers into ziploc bag, and crush using your hands or a rolling pin. You want to leave some of them chunky so that you'll see bits of wafer in the cheesecake when you cut into it.
- Gently fold the wafers into the cheesecake batter.
- Spread batter into 1 store-bought 10-inch graham cracker crust. Bake in the oven for about 55-60 minutes.
- It'll be a bit puffy when you first take it out of the oven but will settle down as it cools. Allow cheesecake to cool for several hours in the fridge before serving.
Leave a Reply