
Introduction to Japanese Rice Balls
If you're looking to elevate your homemade meal game, Japanese rice balls, or Onigiri, are a must-try! These delightful bites offer not only a burst of flavor but also incredible versatility, making them a fantastic option for busy young professionals.
So, why are Japanese rice balls a game-changer? For starters, they’re incredibly easy to prepare. With a base of short-grain rice, you can customize the fillings to fit your mood or dietary preference. Whether you want to incorporate seasonal veggies or delicate fish like sole, the options are endless. Plus, Onigiri make a perfect portable snack or meal, whether you're at work or enjoying a picnic in the park.
In fact, the Japanese have long celebrated these rice balls for their practicality. According to a recent article from Nippon.com, Onigiri have been a staple in Japanese lunchboxes for generations, symbolizing comfort and tradition.
Moreover, prepping a batch of these tasty morsels ensures that you've always got a healthy snack on hand, reducing the temptation for less nutritious options. With only a short cooking time, you can whip up 15 perfectly portioned rice balls in just over an hour. Don't be surprised if they become a regular feature in your meal rotation!
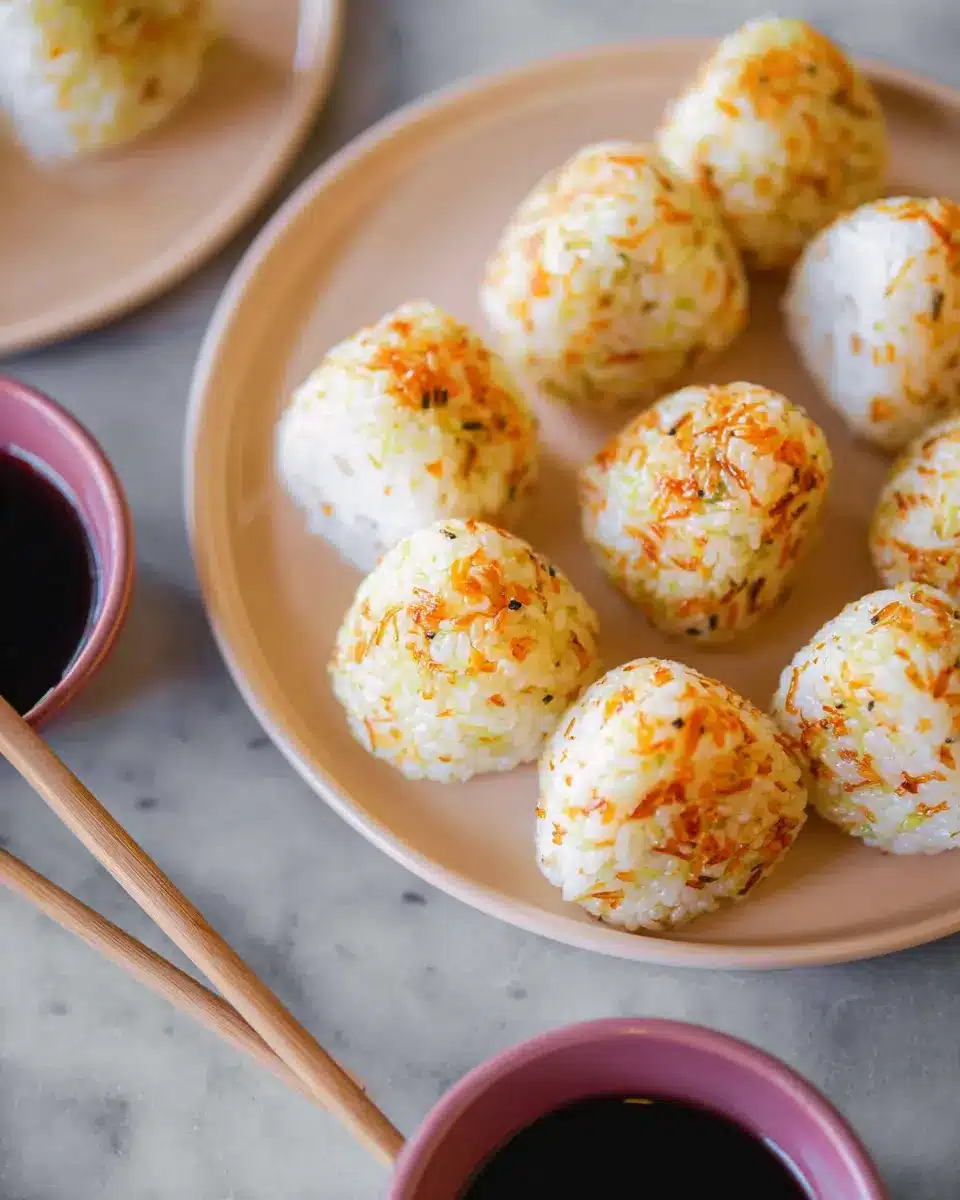
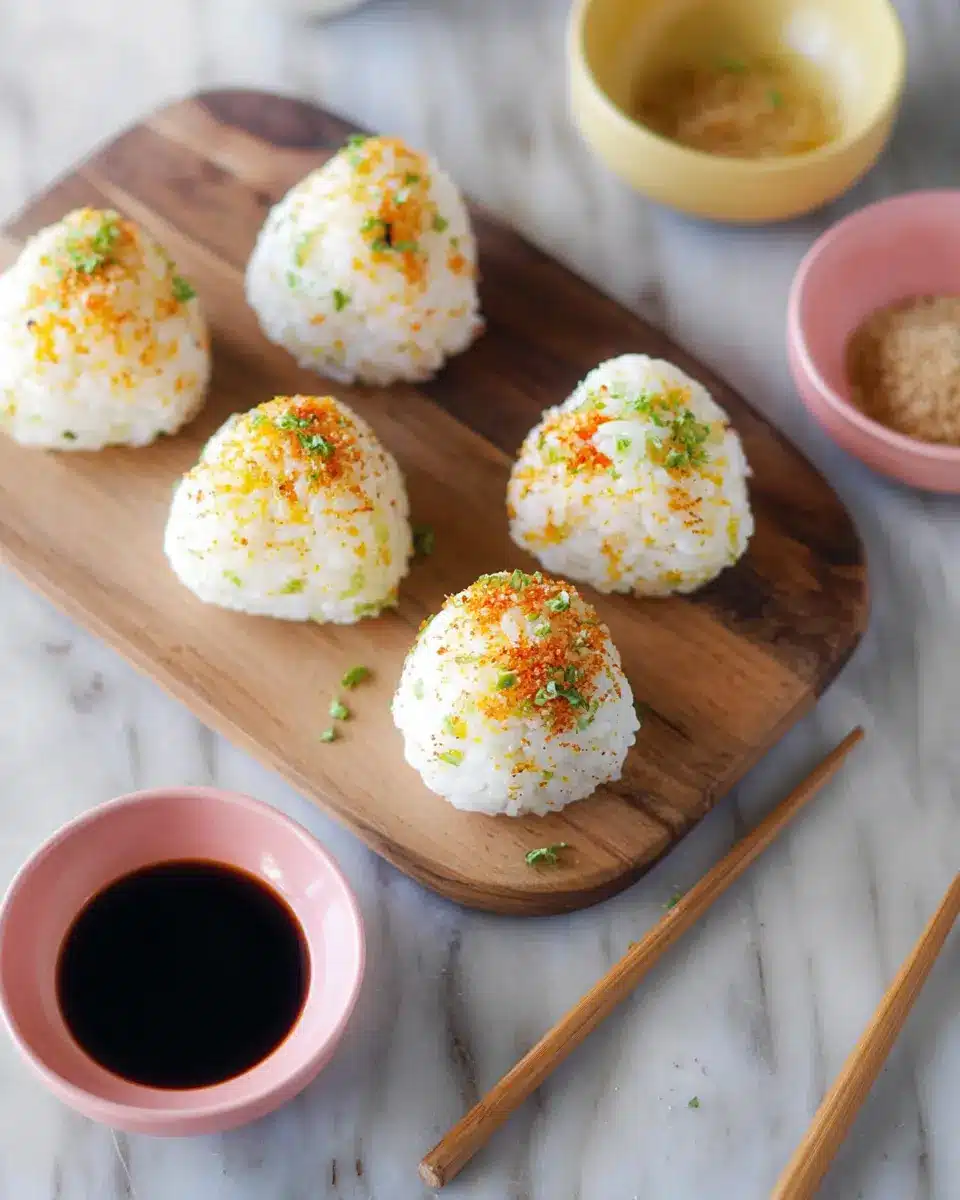
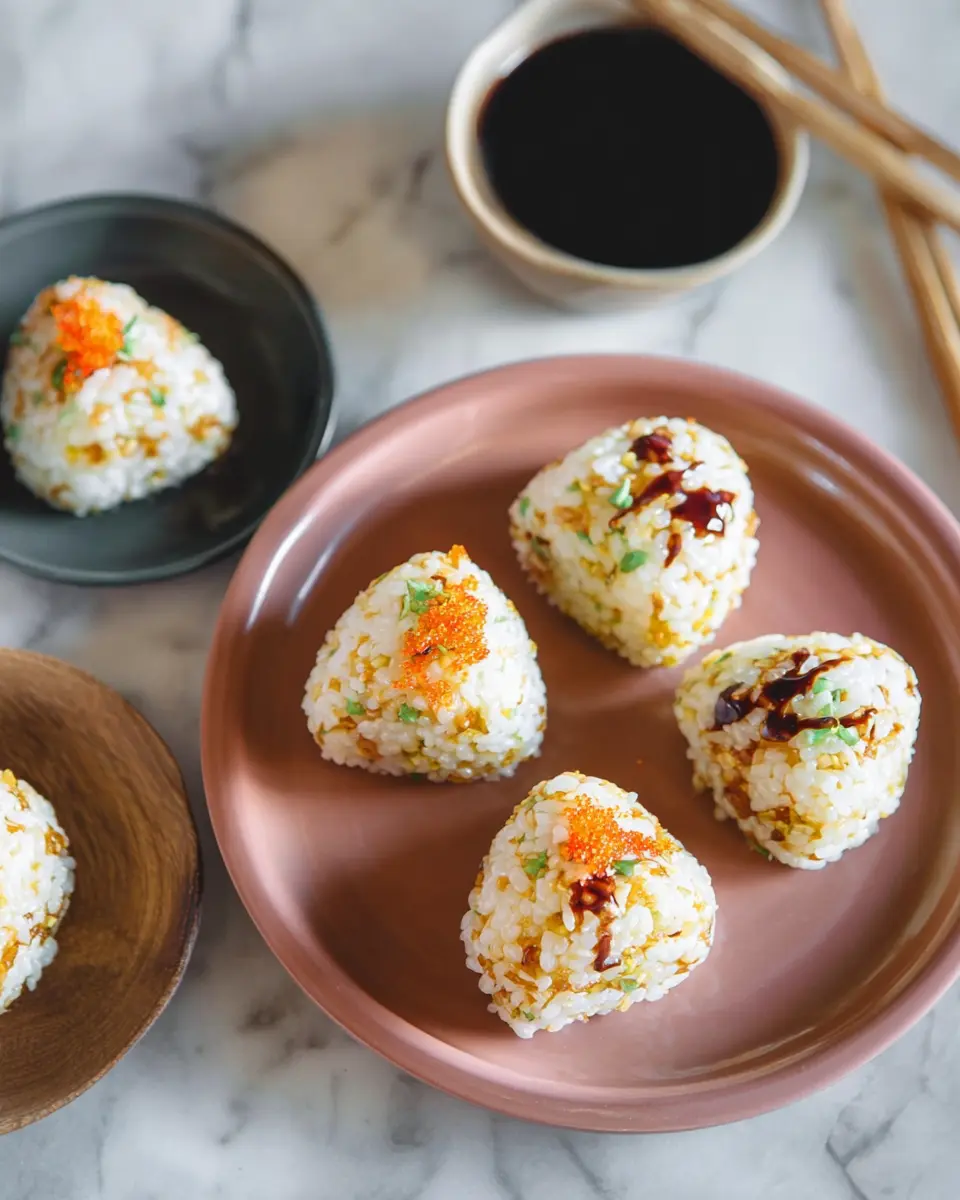
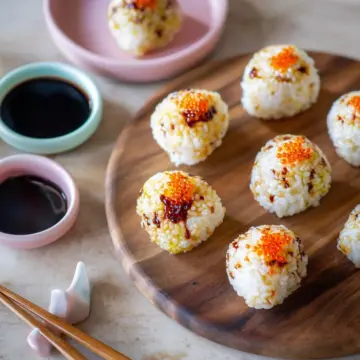
Japanese Rice Balls
Also known as Onigiri, these delicious rice balls are made from steamed rice rolled with small pieces of veggies and fish. The perfect bite-size food for toddlers, and adults love them too!
Essential Ingredients for Making the Perfect Rice Balls
Creating Japanese rice balls requires a few essential ingredients that come together to make a delightful snack or lunch. Here’s what you’ll need:
- 1 cup short grain white rice or sushi rice: This is key for achieving that perfect sticky texture.
- 1 ½ cups water: Necessary for cooking the rice to tender perfection.
- 8 baby carrots: These add a nice crunch and natural sweetness.
- 1 cup broccoli florets: Nutrient-rich and brings a vibrant color to your rice balls.
- 1 piece sole or any mild white fish: This adds protein and a savory flavor; feel free to experiment with your favorite fish.
With these ingredients, you can customize your Japanese rice balls by including other fillings such as pickled vegetables or sesame seeds. For some inspiration, check out this guide on traditional onigiri fillings. You’ll love how versatile they are—perfect for meal prep or a picnic with friends!
Step-by-step Preparation of Japanese Rice Balls
Creating your own Japanese rice balls (Onigiri) at home is not only a rewarding culinary experience but also a fun way to provide a tasty meal or snack. Let’s dive into the step-by-step preparations that will make your rice balls a hit both with kids and adults.
Cleaning and Preparing the Rice
Start by using 1 cup of short grain white rice or sushi rice—this rice is essential for achieving that perfect sticky texture. Place the rice in a bowl and cover it with water. Gently rub the rice between your fingers. As you do this, you’ll notice the water becoming cloudy; that’s the excess starch washing away. Pour out the water and repeat this process about 4 to 5 times until the water runs clear. This simple step is crucial for the fluffy texture you want in your Japanese rice balls.
Cooking the Rice to Fluffy Perfection
Once your rice is clean, let it soak in 1 ½ cups of water for about 30 minutes. During this time, the rice will absorb water, preventing it from becoming mushy when cooked. After soaking, cover the pot with a lid and bring it to a boil over medium heat for 5 minutes. Then lower the heat to a simmer and let it cook for 15 minutes. Afterward, turn off the heat and allow the rice to sit, covered, for another 15 minutes. This resting period allows it to steam and finish cooking, ensuring every grain is perfectly tender.
Steaming the Vegetables and Fish
While your rice is cooking, let’s get those fillings ready! You will need 8 baby carrots, 1 cup of broccoli florets, and 1 piece of sole or another mild white fish. Place the carrots in a steaming pot over boiling water for 3 minutes, then add the broccoli and steam for an additional 2 minutes. Finally, add your fish and steam for another 3 minutes, or until everything is fork-tender. This method not only preserves the nutrients but also enhances the flavors of your filling. Interested in learning more about the benefits of steaming? Check out Healthline.
Preparing the Filling Mixture
Once steamed, transfer your veggies and fish to a food processor. Pulse gently—aim for a coarser texture rather than a puree. You want some texture for your Japanese rice balls, so be careful not to over-process. Avoid adding any extra liquid here, as too much moisture can make it challenging to shape the rice balls properly.
Shaping the Rice Balls
Now comes the fun part! Take about 1-2 tablespoons of cooked rice, then add 1 teaspoon of your vegetable and fish mixture. With moistened hands (this will prevent sticking), roll the mixture into a ball about the size of a golf ball. If you prefer, you can blend the filling mixture directly into the rice, just ensure it's not too wet. There’s something incredibly satisfying about shaping these rice balls—try to make them uniform for a polished look.
And there you have it! Enjoy making these delightful Japanese rice balls at home; they’re simple yet oh-so-satisfying!
Variations on Japanese Rice Balls
Different fillings and flavors to try
When it comes to Japanese rice balls, the filling options are endless! Beyond the basics of vegetables and fresh fish, consider trying:
- Chicken Ham for a savory twist
- Turkey Bacon for a crunchy bite
- Pickled plums (umeboshi) for a tangy flavor
- Sesame seeds and avocado for a creamy texture
Explore these delightful variations, and don't be afraid to experiment to find your perfect combination. The beauty of onigiri is that it’s as much about personal preference as tradition.
Combining ingredients for unique tastes
Feeling adventurous? Mixing different ingredients can create unique and exciting flavors in your Japanese rice balls. Combine:
- Seaweed with spicy tuna for a sushi-inspired flavor
- A hint of wasabi mixed with cream cheese for a zesty creaminess
- Fresh herbs, like cilantro or mint, for a refreshing twist
These ideas not only elevate your snack but also invite your friends to join in the fun of creating custom Japanese rice balls. Don’t hesitate to check out this guide on ingredient pairings for more inspiration!
Cooking Tips and Notes for Japanese Rice Balls
Tips for Achieving the Right Texture
To create perfect Japanese rice balls, start with the right rice. Using short-grain or sushi rice is key, as it becomes sticky when cooked. Rinse the rice several times until the water is clear for a fluffier texture. After cooking, let the rice steam with the lid on for 15 minutes for optimal moisture retention. When molding the rice balls, slightly moisten your hands to prevent sticking, and avoid adding too much filling, as it can cause the balls to lose their shape.
Cleaning and Maintenance for Your Cooking Tools
Keeping your cooking tools in good shape is crucial for consistent results. For your pot, gently wash it with soapy water and a soft sponge—avoid abrasive materials to prevent scratches. If you're using a food processor, remember to disassemble and clean all parts thoroughly to avoid odors. A quick rinse after each use can save you time later! Regular maintenance ensures that your kitchen delights like Japanese rice balls remain hassle-free to prepare.
For more tips on maintaining your cooking tools, consider checking out guides from reputable kitchenware sources such as Serious Eats.
Serving Suggestions for Japanese Rice Balls
Creative ways to serve and enjoy rice balls
Serving Japanese Rice Balls can be a fun and creative experience! You can enjoy them as is or take your presentation up a notch by:
- Creating a bento box: Pair onigiri with seasonal fruits, pickled vegetables, and a small portion of edamame for a colorful and balanced meal.
- Using seaweed wraps: Consider wrapping your rice balls with nori for added flavor and a delightful crunch.
Pairing with dips or sides for a complete meal
To elevate your Japanese Rice Balls, think about what to serve alongside them. Here are a few tasty ideas:
- Soy sauce or tamari for dipping: A simple sauce can bring out the natural flavors of your rice balls.
- Miso soup: This warm, savory broth complements the flavors beautifully and makes for a comforting meal.
- Pickled vegetables: Adding a tangy side can enhance the overall taste experience and introduce a delightful contrast.
Feel free to get creative with your Japanese Rice Balls and make them your own! For more recipe inspirations, check out Japanese cooking blogs or farmers' market guides to discover seasonal ingredients that can enhance your dishes.
Time Breakdown for Japanese Rice Balls
Preparation Time
Getting ready to make your Japanese Rice Balls doesn’t take too long! You’ll need around 35 minutes to wash and soak your rice, and chop the vegetables and fish. This time is crucial for achieving that perfect texture and flavor.
Cooking Time
The actual cooking of the rice and steaming the veggies takes about 35 minutes. This includes letting your rice boil, simmer, and rest, as well as gently steaming your carrots, broccoli, and fish to perfection.
Total Time
Overall, you’re looking at a total of 1 hour and 10 minutes from start to finish. But trust me, every minute spent is worth it for these delicious little bites that are perfect for lunch or a snack. Have some fun while preparing them, perhaps listening to music or enjoying a podcast!
For more tips on making your rice balls shine, check out these cooking resources.
Nutritional Facts for Japanese Rice Balls
Calories per serving
With just 60 calories per serving, these Japanese Rice Balls make a light yet satisfying snack or lunch option. This low-calorie treat is perfect for anyone looking to enjoy tasty food while keeping their meal plan on track.
Key nutrients included
Packed with essential nutrients, each rice ball is a delightful combination of ingredients that offer:
- Complex carbohydrates from short-grain rice, providing energy
- Vitamins A and C from carrots and broccoli, crucial for a healthy immune system
- Lean protein from fish, supporting muscle repair and growth
For a deeper dive into the nutritional benefits of Japanese Rice Balls, check out Healthline for more insights. These rice balls are not just delicious; they’re also a fantastic way to nourish your body!
FAQs About Japanese Rice Balls
What kind of rice is best for rice balls?
For making Japanese rice balls, you'll want to use short-grain white rice or sushi rice. This type of rice is stickier than long-grain varieties, ensuring that your rice balls hold together beautifully. If you're feeling adventurous, you could also explore brown rice options for a nutty flavor and a healthier twist.
How can I customize the filling for dietary needs?
The filling for your Japanese rice balls is incredibly versatile! You can customize it to suit various dietary preferences. Here are some ideas:
- For vegetarians: Swap fish for tofu or add more vegetables like avocado or pickled radish.
- Gluten-free: Ensure any additional sauces or seasonings are gluten-free.
- Low-carb: Try cauliflower rice as a base instead of traditional rice.
Feel free to get creative! Check out these filling ideas for even more inspiration.
Can you freeze Japanese rice balls for later?
Absolutely! You can freeze Japanese rice balls for up to a month. Just wrap each rice ball in plastic wrap and store them in an airtight container. When you're ready to enjoy your rice balls, simply thaw them in the refrigerator overnight or microwave them for a quick snack. This makes meal prepping a breeze, ensuring you always have delicious homemade options on hand!
Conclusion on Japanese Rice Balls
Japanese Rice Balls are not only a delightful snack but also a versatile addition to your lunchbox. With endless filling possibilities, including veggies and protein like fish, they cater to various tastes and preferences. Enjoy making these easy, nutritious bites as part of your culinary adventures! For more on Japanese cuisine, check out Just One Cookbook for inspiration.
Japanese Rice Balls
Equipment
- heavy bottomed pot
- food processor
- onigiri mold
Ingredients
- 1 cup short grain white rice or sushi rice
- 1.5 cups water
- 8 pieces baby carrots
- 1 cup broccoli florets
- 1 piece sole or any mild white fish
Instructions
- Wash 1 cup of rice in a bowl and throw the water out, repeating this process 4 or 5 times until the water is clear.
- Put the washed rice in a heavy bottomed pot, add 1.5 cups of water, and let it soak for 30 minutes.
- Put the lid on the pot and bring the rice to a boil for 5 minutes. Change the heat to low and simmer for 15 minutes. Turn off the heat and let the rice sit covered for 15 minutes.
- Stir the rice with a flat spoon so that it does not completely stick together.
- While the rice is cooking, steam the carrots for 3 minutes, add the broccoli, and steam for an additional 2 minutes. Finally, add the fish and steam until everything is cooked through and fork tender.
- Place the fish and vegetables in a food processor and pulse to combine, maintaining some texture.
- Take 1-2 tablespoons of rice and 1 teaspoon of the vegetable/fish mixture and combine.
- With moistened hands, roll the mixture into a ball, about the size of a golf ball.
- Serve.

Leave a Reply